Read this quick & easy guide on how to fill out a receipt book. Find out which copy to keep, download free receipt book templates & more!
About Shoeboxed Shoeboxed is an expense & receipt tracking app that helps you get reimbursed quickly, maximize tax deductions, and reduce the hassle of doing accounting. Get Started Today
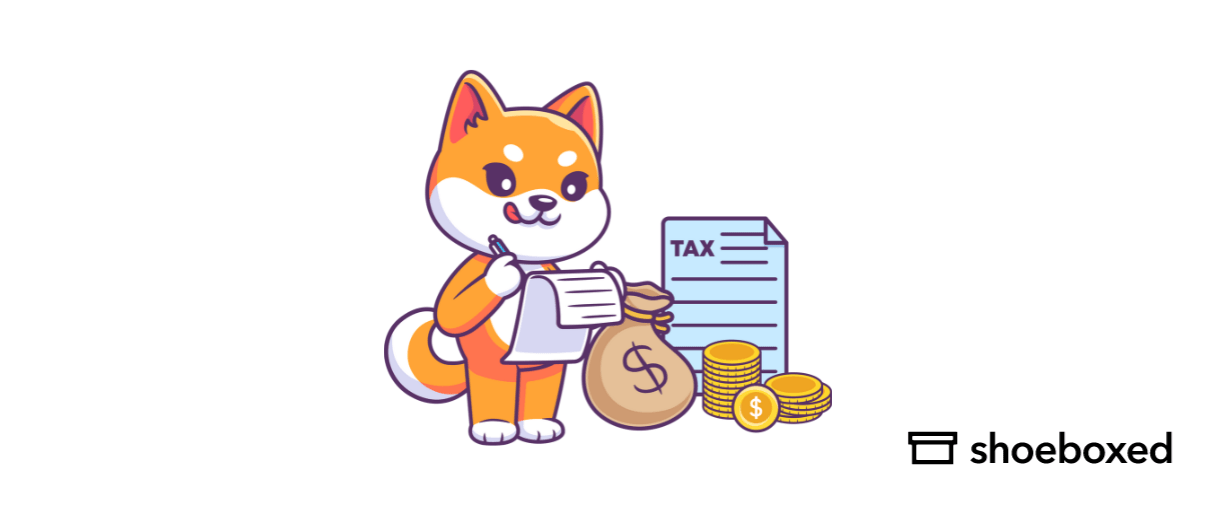
Are you looking for a quick guide on how to use a receipt book? If yes, you’ve come to the right place! Shoeboxed, the #1 receipt scanner app, is here to help you find out exactly what a receipt book is and how to fill out a receipt correctly. Let’s go!
Table of ContentsAs the name suggests, a receipt book consists of multiple detachable forms that serve as proof of payment. These booklets are usually pre-numbered chronologically and have the receipt headings in place. You can easily print out a receipt book template online or buy one at any office supply store. A receipt book is a critical document because it helps you keep track of your financial transactions and serves as solid evidence for tax purposes. The number of individual receipts in a book can vary from 50 to 200 sets. Commonly, one set of receipts contains two different colored receipts: white and yellow.
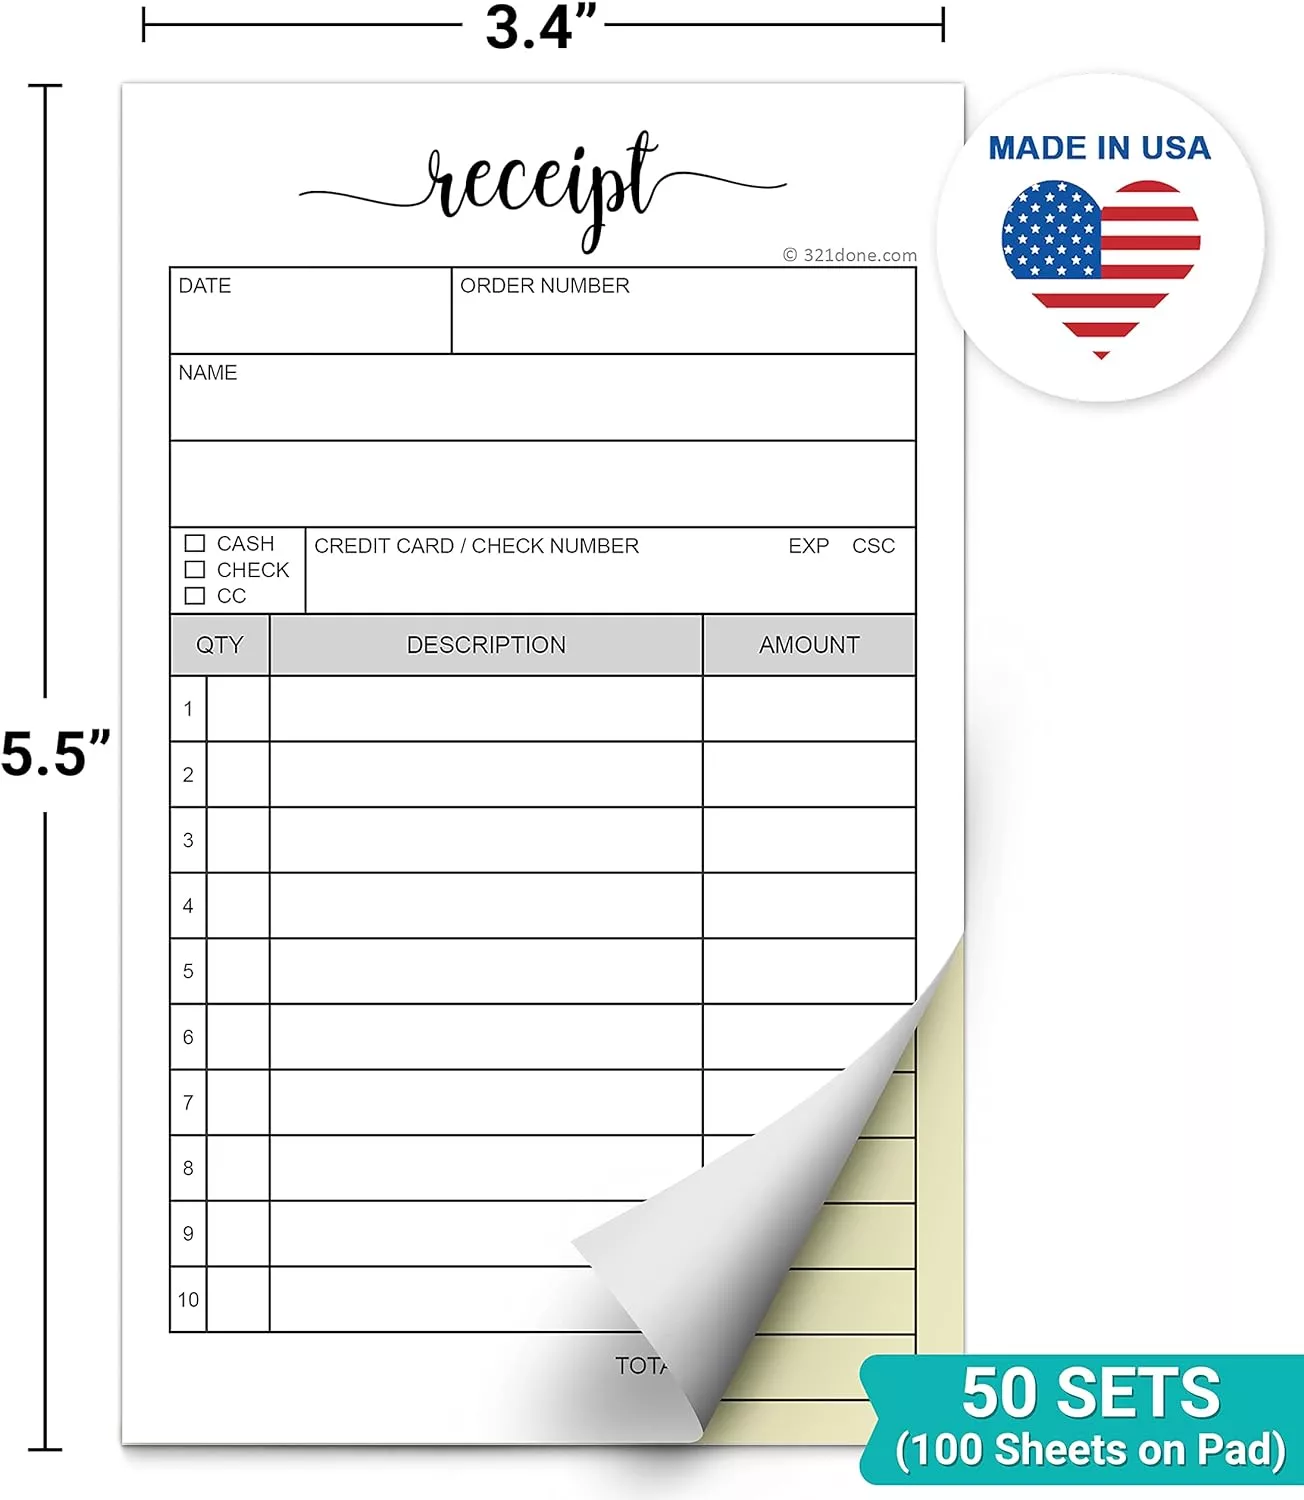
The white receipt is called the original receipt, which is usually on top and is given to customers. Meanwhile, the yellow receipt is a duplicate or carbon copy of the white receipt that the business keeps for documentation. Source: Amazon You can also find sets containing up to 4 different colored receipts. This type of receipt book is handy if your business has many departments involved in the sales process. For example, your business may want to give the white copy to the client, the yellow one to the sales department, the pink one to the finance department, and the blue one remains in the receipt book.
Join over 1 million businesses scanning receipts, creating expense reports, and reclaiming multiple hours every week—with Shoeboxed.✨ Get Started Today
While it depends on the template you use for your receipts, there are some essential parts that you see on almost every receipt. Below is a detailed guide on how to fill in those crucial parts:
Write the exact date at the top page of your receipt when the transaction occurs. It can be the date when you receive payments or when your client receives your products or services.
Most businesses have customized receipt books that have all this information pre-printed at the top left-hand corner of the receipt page. If you don’t have a customized receipt book, you will have to write down your company phone number/hotline and address under the company name.
Write the name of your product on the left-hand side of the receipt. Make sure you also enter a specific description of the product like the size, quantity, color, etc.
If you sell more than one item, list each product individually on one single row or line and leave a good space between each product. This allows you to change or add more information when needed.
Here’s a receipt book example filled out: